If you are looking for a cheap and easy wall hanging project to brighten up your boring walls, this project is for you!
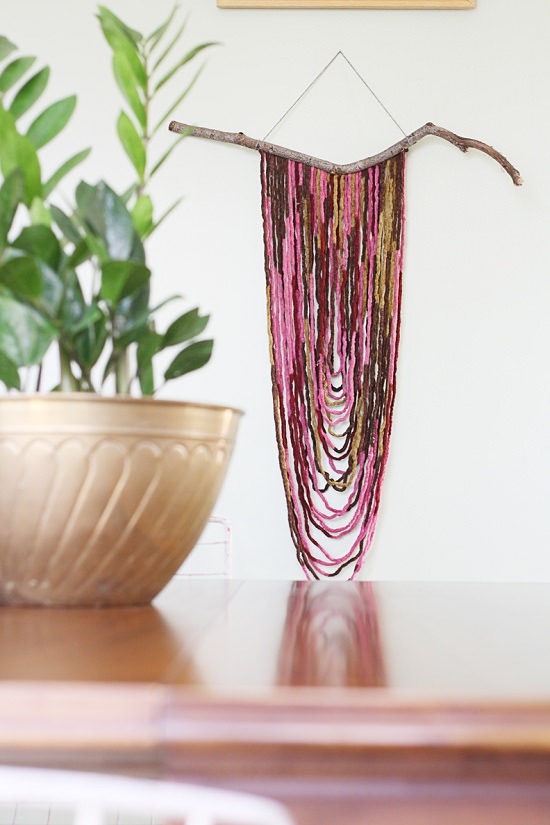
Yarn art is in trend right now, and we are sure this project is going to pop your guest’s eyes. It looks rustic and appealing and at the same time is such a straightforward project!
Here’s how to make it
 You’ll need
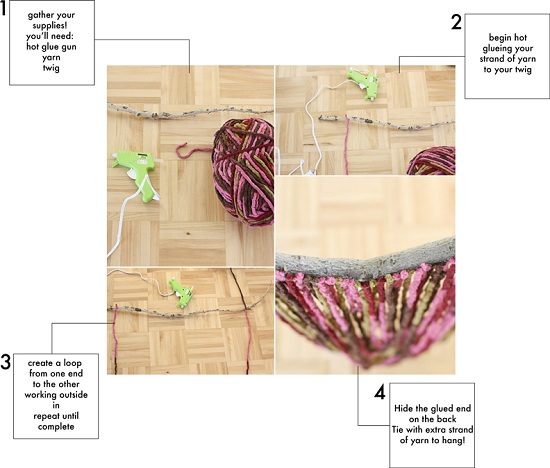
- Hot glue gun
- Yarn
- Twig
Procedure
- Clean and twig properly to get rid of any dirt of debris.
- Pick two points on the twig for the width of your yarn art. Start to hot glue the yarn strands to the back of your twig.
- Now glue the other end of yarn to the other side of twig to create a loop.
- Continue working outside in until you complete.
- Tie an extra piece of yarn to the ends twig and hang it on the wall!

The thing I love about this project is it’s SO easy to do and it has such a huge impact in any space. I decided instead of hanging my yarn, I would drape it to create flow. It also creates this illusion that the yarn is coming out from the branch, rather than just being tied onto it.
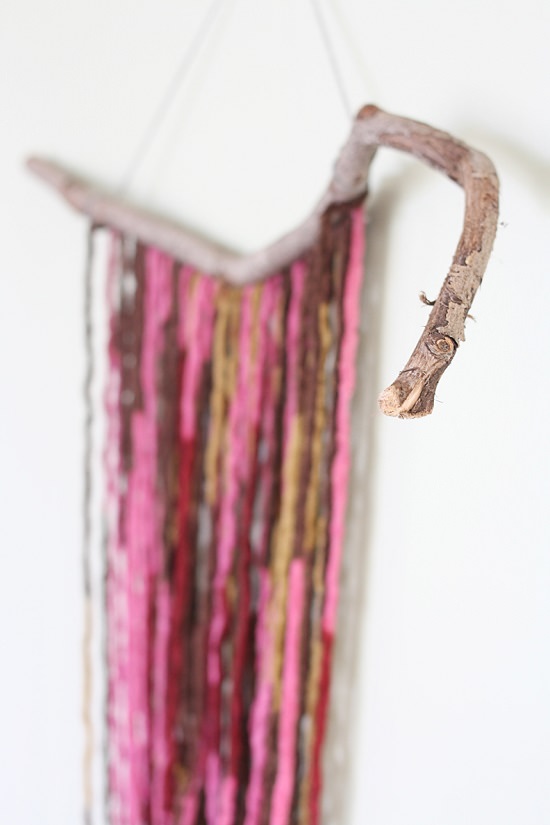
I decided to use a branch because bringing a part of nature indoors is a really great way to instantly make your home feel holiday ready! Hope you’ll have a lot of fun creating this piece and you might also try some variations in it as well like coloring it or attaching copper piping. I love the pop of color it brings to the interior!
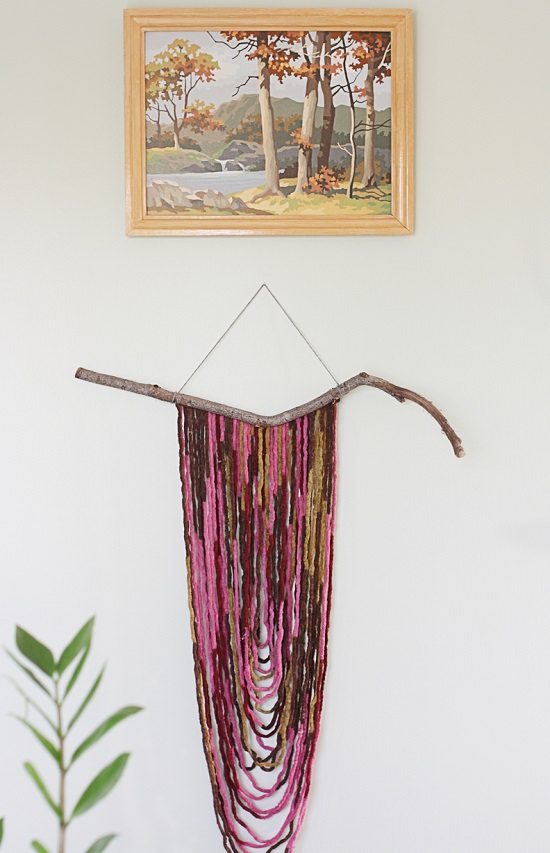
I like to mix up my fall and Halloween decor, I don’t want to focus on one season over the other! What do you think of this effective, yet subtle fall decor?