
As an Amazon Associate, we earn a small commission from qualifying purchases — at no extra cost to you.
Ready to craft your own hand accessories with this exclusive article on Stylish Macrame Bracelets. They are fun to design and will make your wrists look amazing!
6 Stylish Macrame Bracelet Designs
1. DIY Macrame Braided Knot Bracelet
Twist, knot, and weave your way to a trendy DIY braided bracelet! With just a few ropes, some simple knots, and a little creativity, you’ll have a handmade accessory that’s fun to make and even more fun to wear.
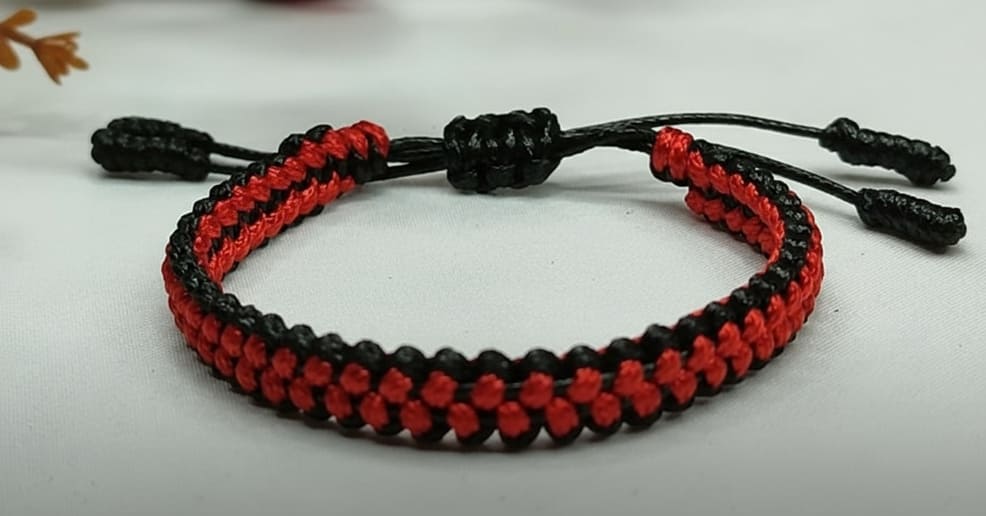
Materials You’ll Need
- Korean waxed rope, 1 mm thickness
- 2 pieces of 40 cm long black thread
- 1 piece of 90 cm long black thread
- 1 piece of 90 cm long red thread
- 1 piece of 25 cm long thread
- Scissors
- Lighter
Step-by-Step Instructions
Step 1: Prepare the Ropes
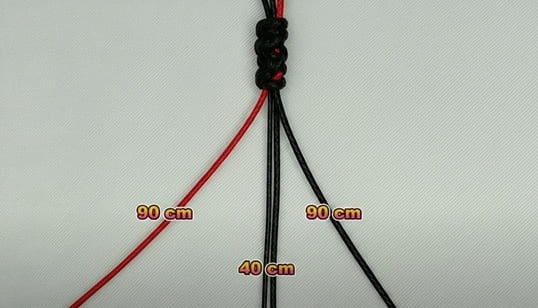
- Cut 2 ropes of 90 cm (black & red). Cut 2 ropes of 40 cm (black).
- Measure 12 cm from one end of each 90 cm rope
Step 2: Starting Knots
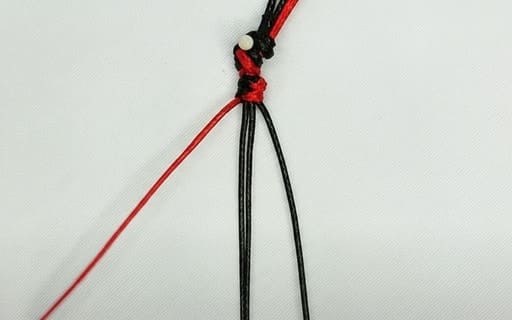
-
At the 12 cm mark, tie 2 snake knots.
- Begin the first variation of the square knot.
Step 3: Braiding the Bracelet
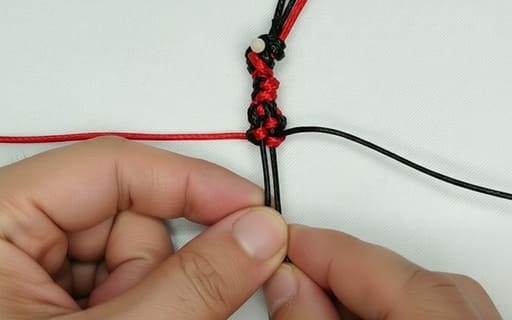
-
Keep repeating square knots.
-
Continue until the knotted section is about 16 cm or fits your wrist.
Step 4: Securing the Ends 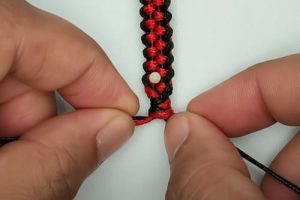
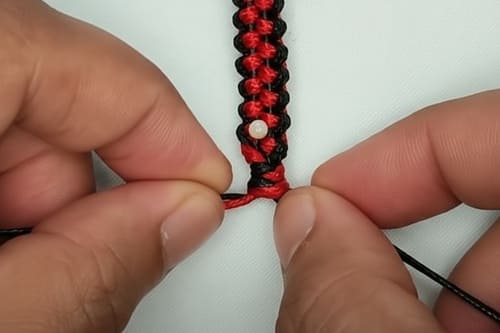
-
Tie 2 snake knots at the end of the 16 cm section.
-
Add heaving line knots to both ends for neat finishing.
Step 5: Closure 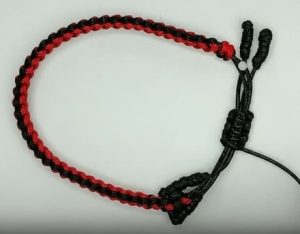
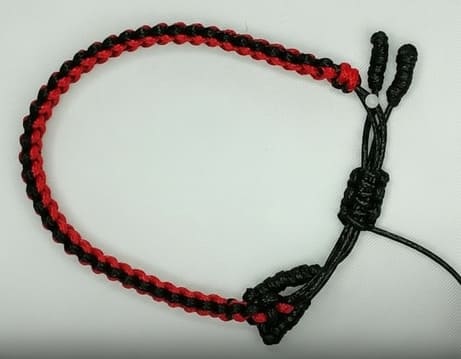
- Cut 1 piece of 25 cm rope.
- Use it to tie 3 square knots to form the bracelet closure.
2. DIY Macrame Easy Knot Bracelet
Get your crafty hands ready! Learn how to make a stunning DIY knot bracelet with simple cords, easy knots, and a touch of love. Perfect for beginners and endless color combos!
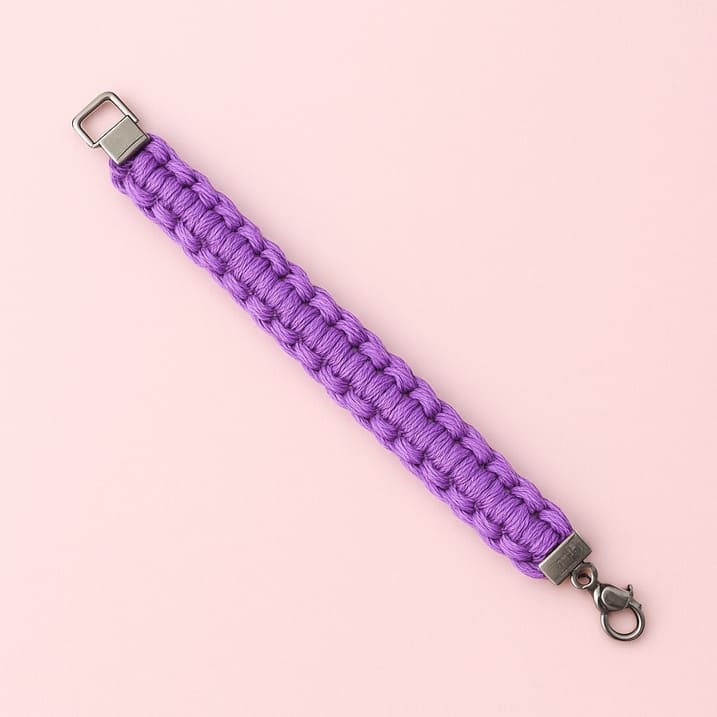
Materials Required
-
Mouse tail cord / Korean waxed cord (1 mm or 2 mm, any color)
- 2 × 40 cm (base threads)
- 2 × 110–120 cm (working threads)
- Scissors
- Ruler or measuring tape
- Lighter (to seal ends)
- Clip or board (to hold threads in place)
- Pin (optional, for marking)
Step-by-Step Instructions
Step 1:- Prepare Base & Working Threads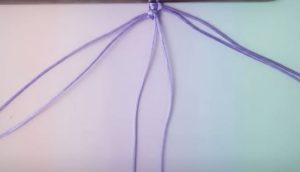
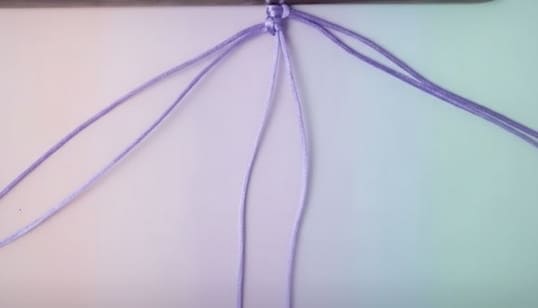
- Cut 2 cords, 40 cm each → secure on clip/board, leaving 10–15 cm free at top.
- Cut 2 cords, 110–120 cm each, fold in half → attach to base with Lark’s Head Knots (one cord on each side).
- Arrange so you have 4 base cords and 4 working cords.
Step 2:- Start Knotting & Build Pattern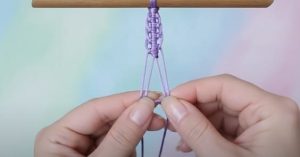
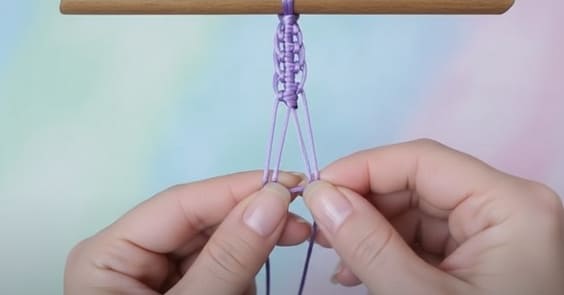
- Take the top working cord on the right, knot over and under the two base cords, pull tight, then knot below.
- Switch to left → knot the top working cord over and under the base cords.
-
Alternate sides with top working cords, repeating over and under knots until the knotted section reaches about 15 cm.
Step 3:- Prepare & Secure Closure 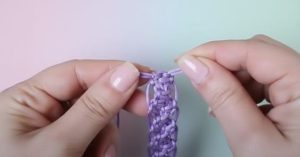
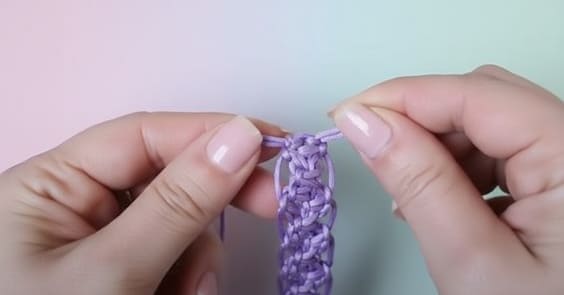
- Work until the knotted section reaches about 15 cm
- Organize loose ends → make a half knot flat to prepare for closure.
- Decide whether to make a simple knot or an adjustable sliding knot closure. Cut any excess cord.
- Seal ends carefully with a lighter, taking care not to burn yourself.
Step 4:- Final Adjustments 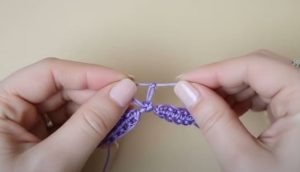
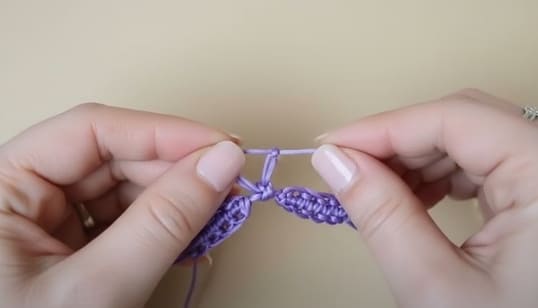
- Tie the closure → check fit and symmetry.
- Adjust tension if needed → bracelet is complete!
- Make final adjustments for neatness.
3. DIY Macrame Beaded Bracelet
Twist, knot, and sparkle! Learn how to make a DIY Macrame Beaded Bracelet using simple square knots, shiny beads, and a pop of gold. Perfect for beginners who love handmade charms and a little wrist bling!
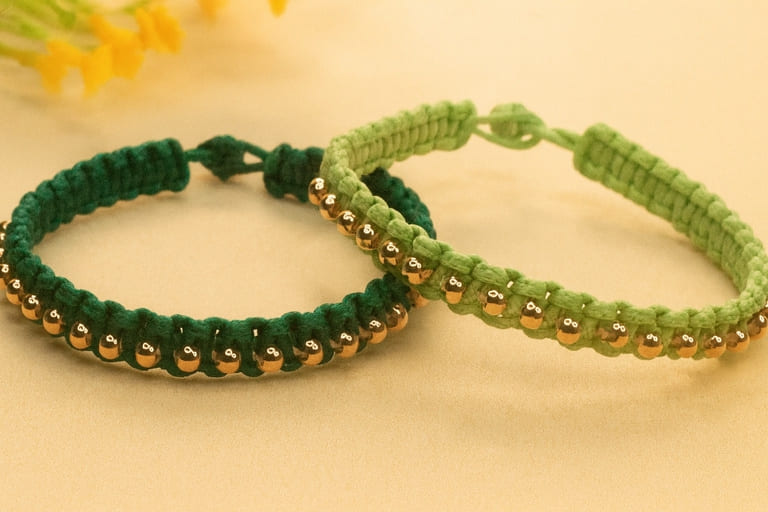
Materials Required
-
1 mm waxed Korean rope:
-
1 thread × 60 cm
-
1 thread × 150 cm
-
1 thread × 60 cm
-
0.5 mm gold rope × 30 cm
-
3 mm beads × 19 pcs (adjust as needed for wrist size)
-
Scissors
- Lighter
Step-by-Step Instructions
Step 1: Prepare the Ropes 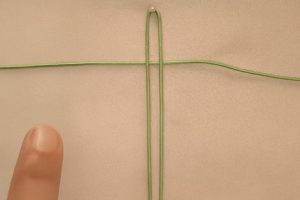
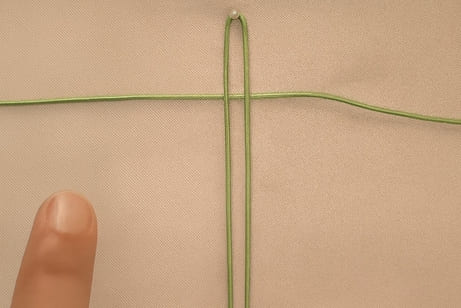
- Cut 1 piece of rope 60 cm long
- Cut 1 piece of rope 150 cm long. Attach the longer rope to the shorter one at the center to form the base of your bracelet.
Step 2: Make the Square Knots 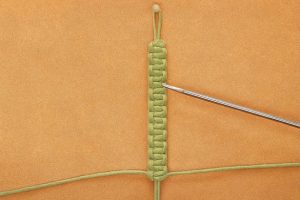
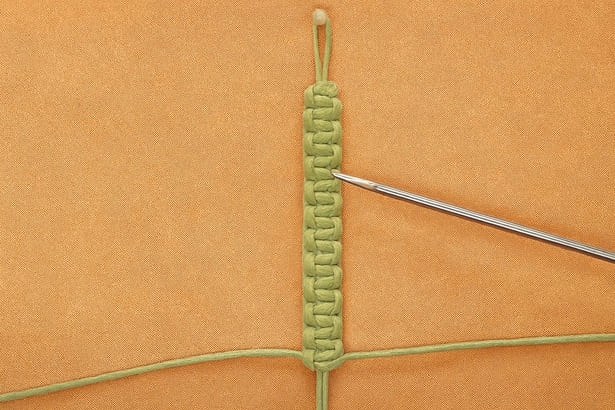
- Begin your first square knot using the 150 cm cord. Continue making 10 square knots in total to form the starting section of the bracelet.
Step 3: Add the Gold Rope and Beads 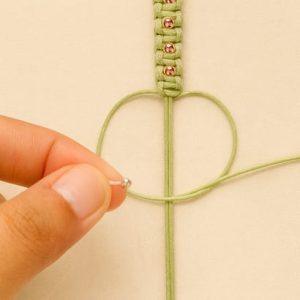
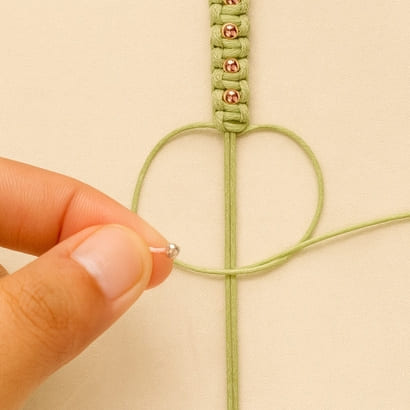
- Make the 11th square knot. Before tightening, insert the 30 cm gold rope into the center gap.
- Add 3 mm beads to the gold string. Pass the gold string through the center and tighten.
-
For the 12th knot, bring the gold string up through the center before tightening. Bring it back down and repeat.
Continue this pattern until 19 beads are added (or adjust for wrist size).
Step 4: Finish the Bracelet Body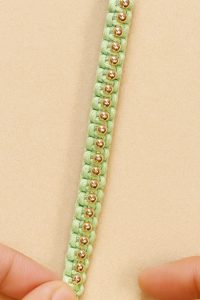
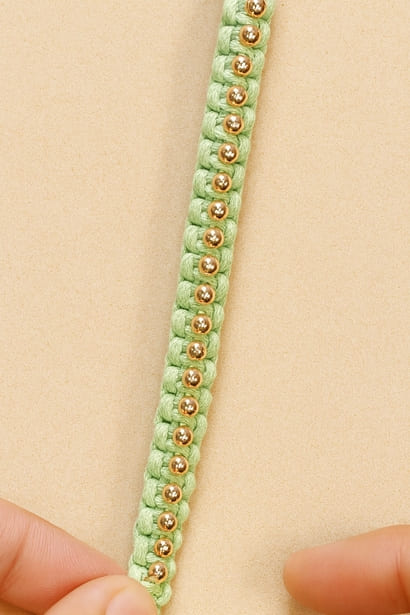
- After adding all beads, make 10 more square knots as in the beginning to finish the braided body.
Step 5: Create Diamond Knots for Closure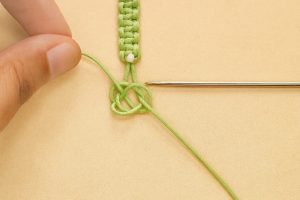
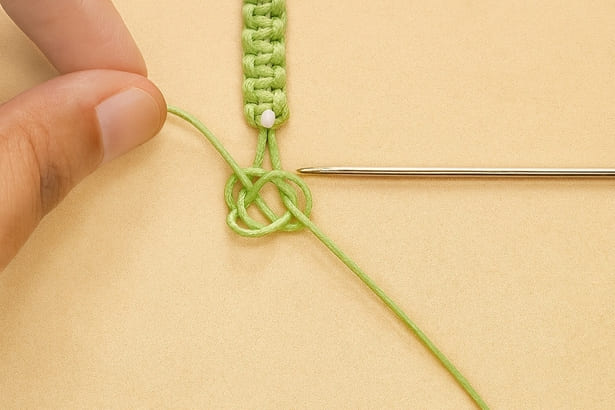
- Bring the left end of the rope through the right, inserting it into the middle hole. Then bring the right end through the left, inserting it into the middle hole.
- Pull tightly to form a diamond knot. Trim off the extra rope and seal the ends with a lighter.
4. DIY Beginners Macrame Bracelet
Knot your way to style! Learn how to make a chic DIY Macrame Bracelet using satin cords and simple square knots. It’s fun, easy, and perfect for adding a handmade sparkle to your wrist!
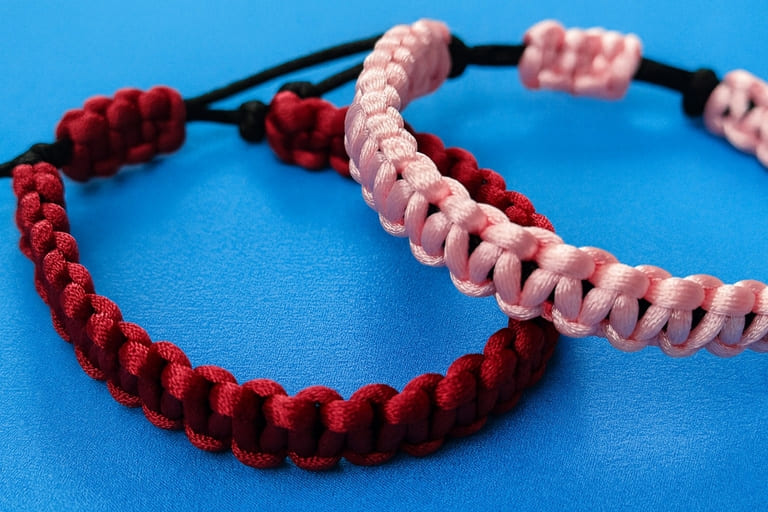
Materials Required
-
2 mm satin strap
- 1 thread × 200 cm (pink)
- 1 thread × 40 cm (pink)
- 2 threads × 40 cm (black)
- Scissors
- Lighter
Step-by-Step Instructions
Step 1: Prepare the Ropes 
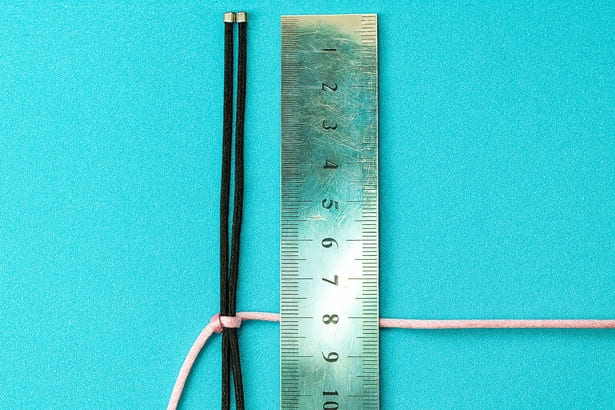
- Cut two black ropes, each 40 cm long – these will act as the base cords.
- Cut one pink rope, 200 cm long – this will be your working cord for the knots. Secure the two black cords parallel to each other on a board or with tape. Fold the pink rope in half and place it under the black cords to start knotting.
Step 2: Start the Base 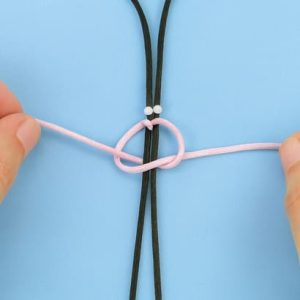
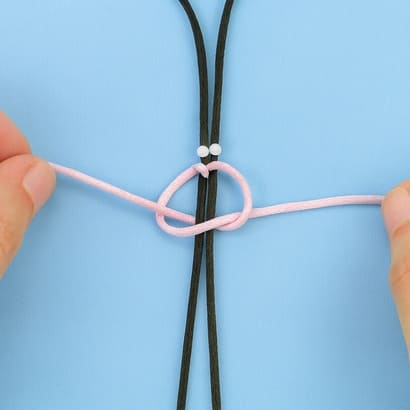
- Leave about 10 cm of free space at one end of the cords. This space will later help in attaching the closure. Keep the cords tight and even before starting to knot.
Step 3: Make Square Knots 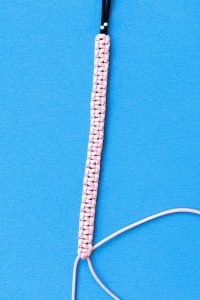
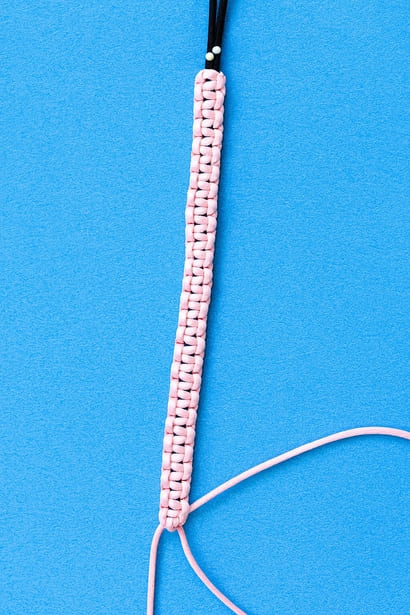
-
Begin making square knots with the pink rope over the black base cords.
Each knot is made by alternating the left and right sides, creating a neat woven pattern. - Continue making square knots until the pattern reaches around 16 cm in length — this will be the main bracelet body.
Step 4: Create the Sliding Closure
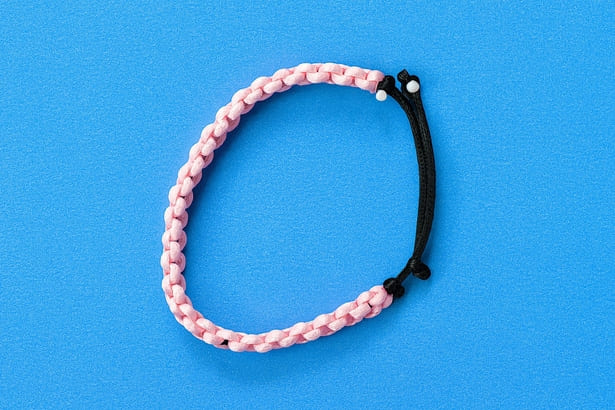
- Cut another pink rope, 40 cm long. Lay both bracelet ends side by side and place the short pink cord under them. This will form the adjustable sliding section that lets you tighten or loosen the bracelet.
Step 5: Finish the Bracelet 
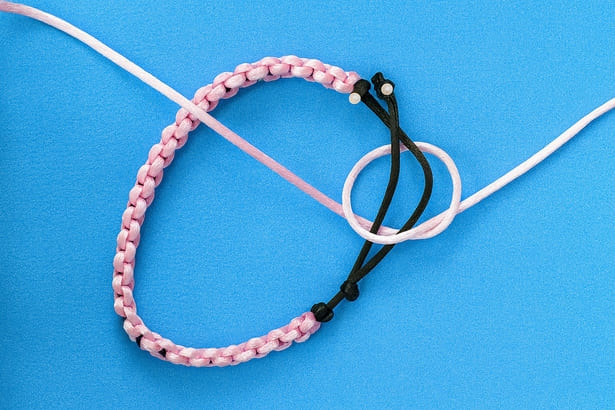
- Using the 40 cm pink rope, make 3 square knots around both bracelet ends to secure the closure.
- Trim off the extra ends neatly. Use a lighter to gently melt and seal the rope ends to prevent fraying.
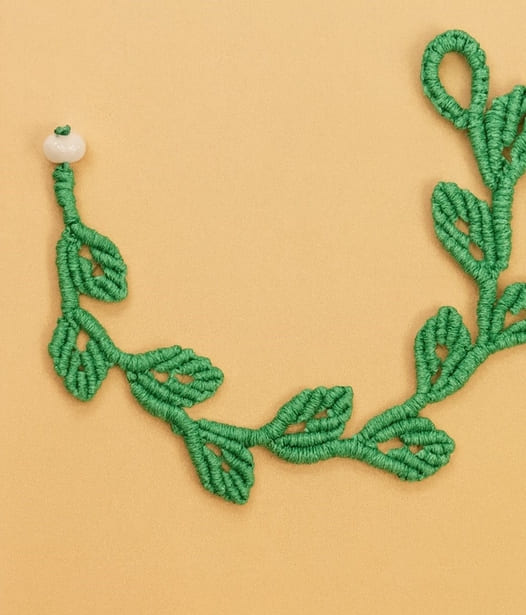
5. Macrame Wavy Leaves Bracelet
Bring a little nature to your accessories! Follow this fun macrame tutorial to craft a wavy leaves bracelet that’s whimsical, easy to make, and sure to make your wrist pop with leafy vibes.
Materials Required
- Nylon rope 0.8 mm:
- 1 × 220 cm (green)
- 2 × 200 cm (green)
- Flat bead, 8 mm – 1 piece (for bracelet closure)
- Scissors
- Lighter (to seal rope ends)
Step-by-Step Instructions
Step 1: Cut and Prepare Ropes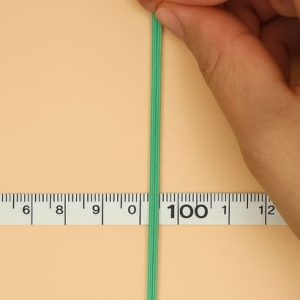
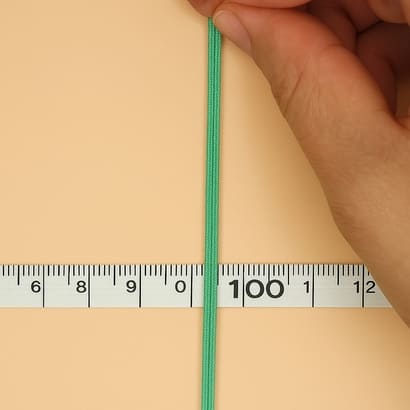
- Cut 1 rope of 220 cm and 2 ropes of 200 cm.
- Measure 100 cm from the end of each rope as a guide for where to start your knots.
- This ensures your bracelet will have even loops and consistent spacing.
Step 2: Make Base Lark’s Head Knots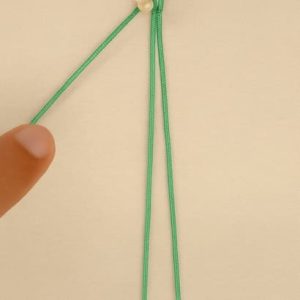
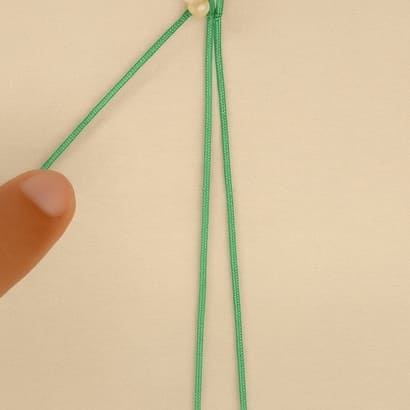
- Attach the ropes to your working surface using 12 lark’s head knots.
- These knots act as the foundation of your bracelet and keep the ropes in place as you work.
- Make sure the knots are tight and aligned.
Step 3: Create Left Side Petal Pattern with Double Half Hitch Knots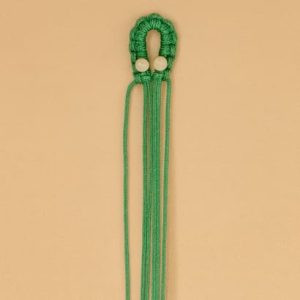
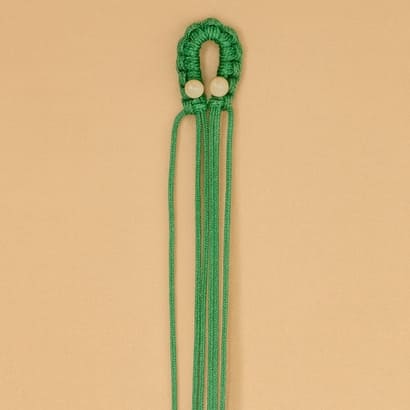
- Using the left ropes, make double half hitch knots: 5 → 4 → 3 → 2 → 1 rope.
- This creates a petal shape on the left side of the bracelet.
Step 4: Create Right Side Leaf Pattern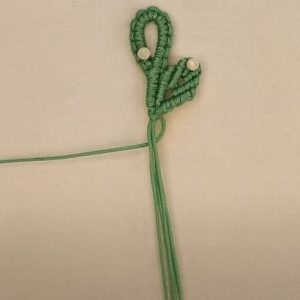
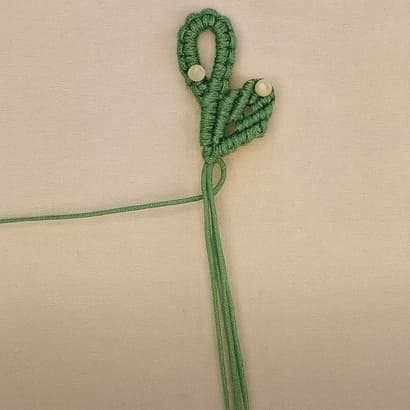
- Mirror the left side on the right side using the same ropes.
- Make double half hitch knots: 5 → 4 → 3 → 2 → 1 rope.
- This forms a leaf shape on the right side.
Step 5: Form Leaf Stalks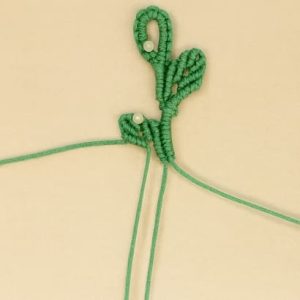
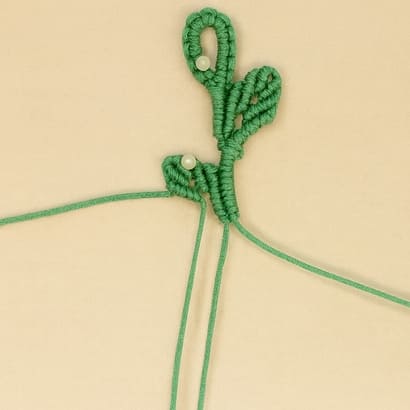
- Take the longest rope and bring it from left to right across the bracelet.
- Use double half-hitch knots along this rope to create leaf stalks, connecting the petal and leaf patterns.
- Ensure knots are tight and evenly spaced to give the bracelet structure.
Step 6: Repeat Leaf Petal Patterns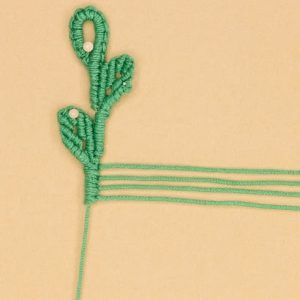
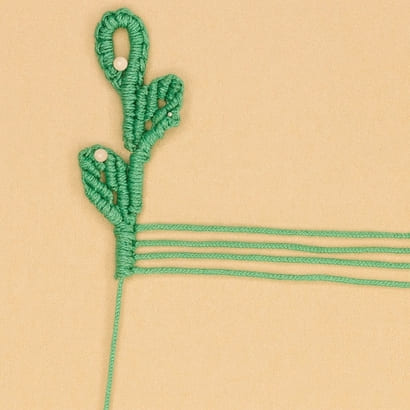
- Continue creating leaf petal patterns along the bracelet using the same double half-hitch technique.
- Repeat until you reach your desired bracelet length.
- Keep checking symmetry on both sides so the design remains balanced.
Step 7: Finish Bracelet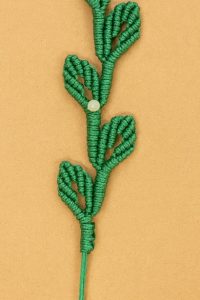
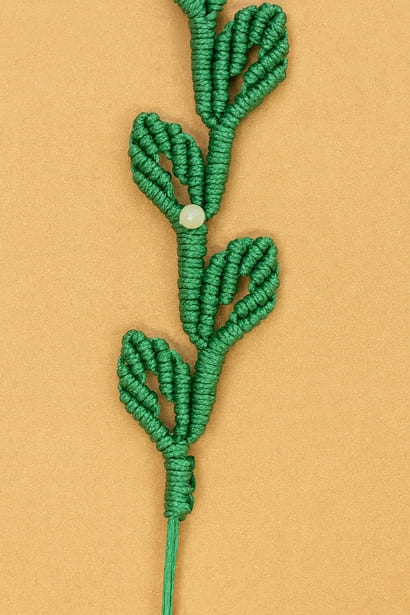
- Attach the 8 mm flat bead as a closure or button.
- Tie a snake knot to secure the bracelet.
- Trim any excess rope and use a lighter to carefully seal the ends, preventing fraying.
- The finished bracelet diameter is approximately 14 cm; adjust rope lengths to fit your wrist.
6. Macrame Spiral Bracelet
Twist, knot, and sparkle! Learn how to create a fun and colorful macrame spiral bracelet step-by-step, perfect for both beginners and crafty hands.
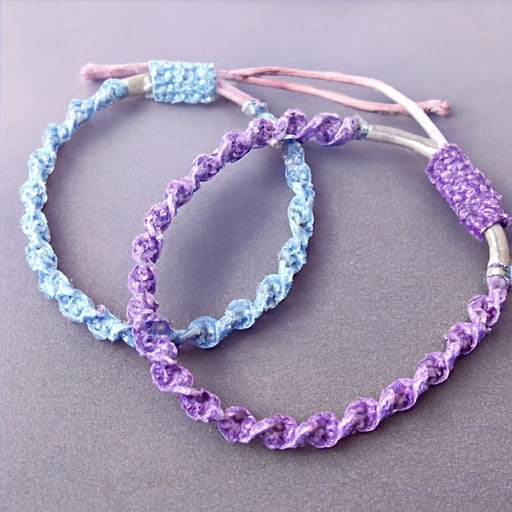
Materials Required
-
1 mm satin cord
-
1 long blue cord, 200 cm (main working cord)
-
1 short blue cord, 40 cm (for sliding closure)
-
2 grey cords, 40 cm each (for base/support)
-
Scissors
-
Gas lighter (to seal the ends and prevent fraying)
-
Ruler or measuring tape (to measure cord lengths accurately)
Step-by-Step Instructions
Step 1: Prepare Base Cords
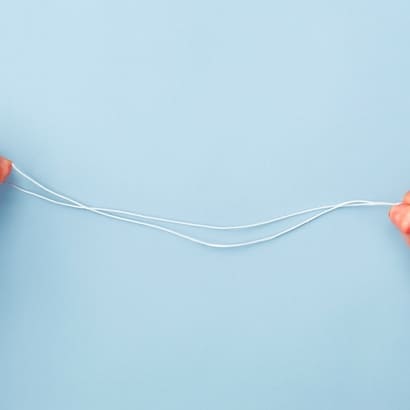
-
Cut 2 grey cords, each 40 cm long.
-
These will act as the foundation for the bracelet knots.
-
Arrange them parallel to each other as your base.
Step 2: Mark the Base Cords
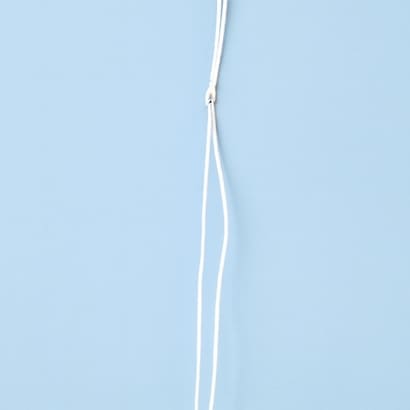
-
Measure 10 cm from the end of each grey cord.
-
This mark will guide where your knots start and help keep the bracelet even.
Step 3: Prepare the Main Cord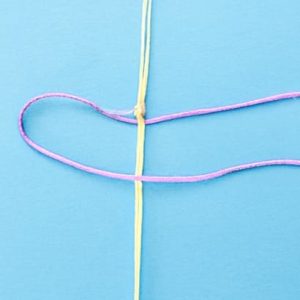
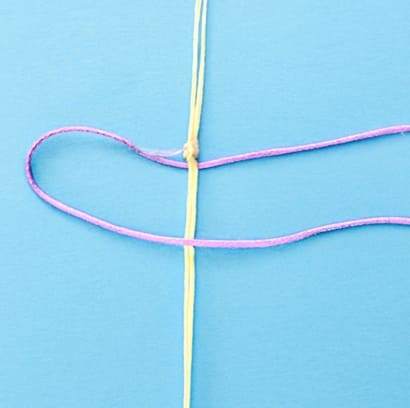
-
Cut 1 long blue cord, 200 cm.
-
This cord will be used to create the spiral pattern along the base cords.
-
Fold it in half if needed and secure the middle point at your work surface or clipboard.
Step 4: Start Spiral Knots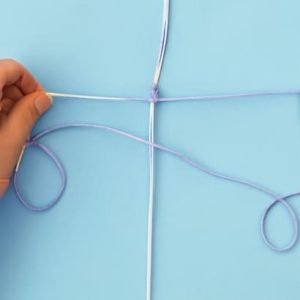
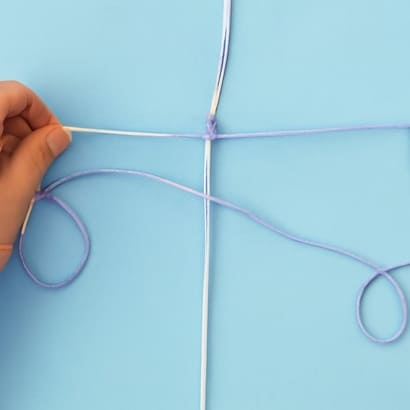
-
Using the long blue cord, begin making spiral knots around the grey base cords.
-
Make sure the knots are tight and uniform.
-
The spiral knot is formed by repeating the same half knot (right or left) in sequence, creating a twisting effect.
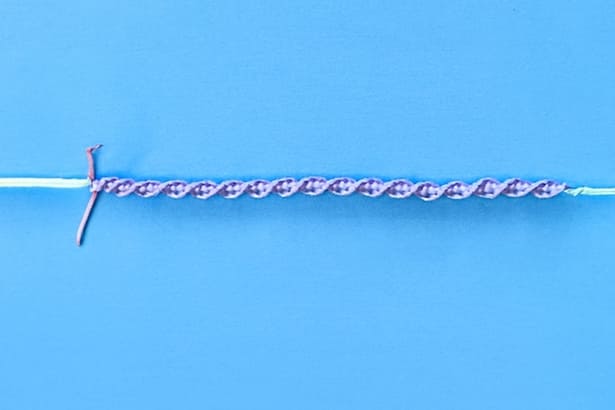
Step 5: Continue Spiral Knots to Desired Length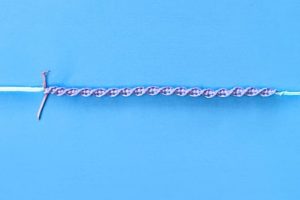
-
Continue tying spiral knots until the knotted section reaches 16 cm in length.
-
Maintain consistent tension in each knot for a neat spiral effect.
Step 6: Secure with a Snake Knot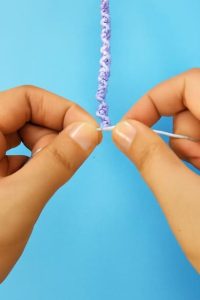
-
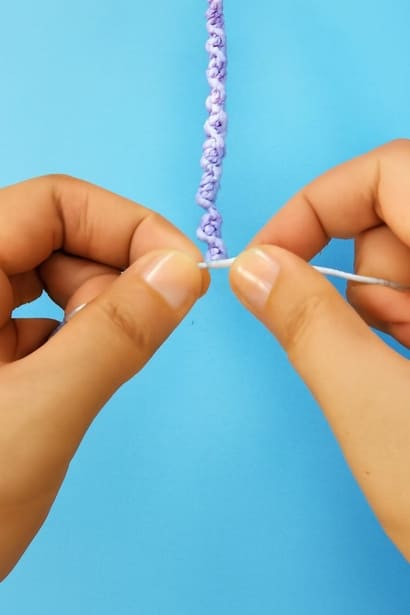
Tie 1 snake knot at the end of the spiral section to lock the design in place.
-
The snake knot also prevents the spiral from unraveling.
Step 7: Prepare Cord for Sliding Closure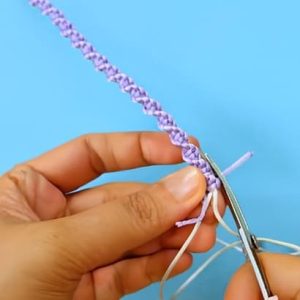
-
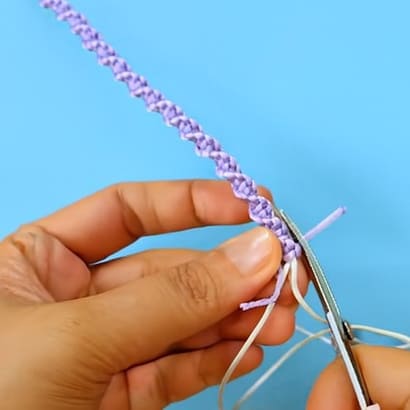
Cut 1 short blue cord, 40 cm long.
-
This will form the sliding closure that allows the bracelet to adjust to different wrist sizes.
Step 8: Make Square Knots for Sliding Closure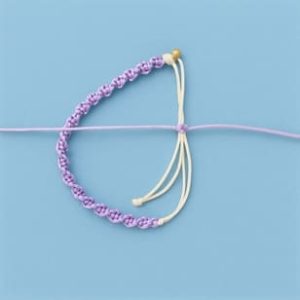
-
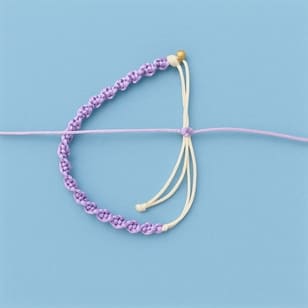
Using the 40 cm blue cord, tie 5 square knots around the bracelet ends.
-
Ensure the knots are tight and evenly spaced.
-
The square knots secure the sliding section and allow the bracelet to open and close smoothly.
Step 9: Finishing Touches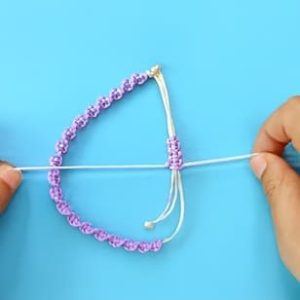
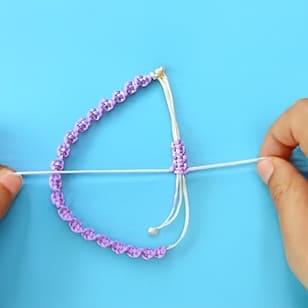
-
Trim any excess cord carefully with scissors.
-
Seal the cut ends using a gas lighter to prevent fraying.
- Test the sliding closure to ensure it moves smoothly and adjust if necessary.