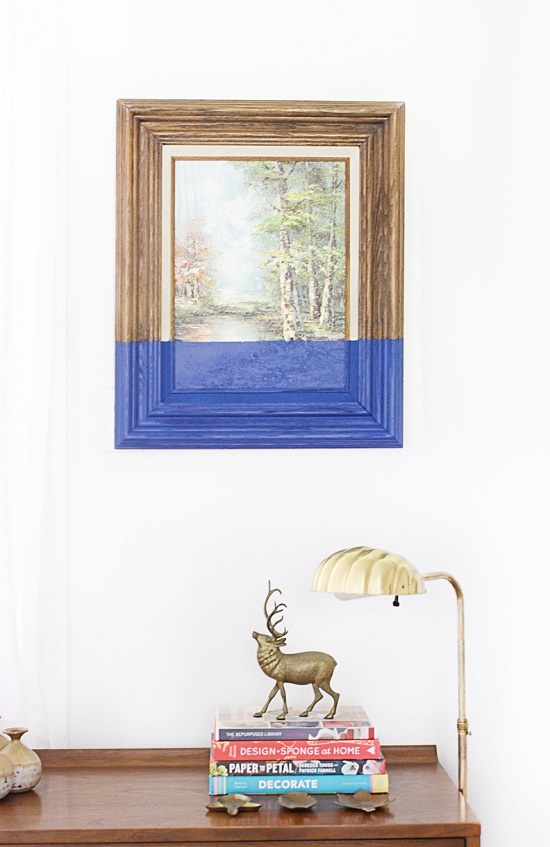
Here’s an article on color dipped DIY wall art that will help you give your boring art a beautiful and creative twist!
You might remember me sharing this fun project on DIY Candy last month, but I just had to share it again with you all! This was such a great project for me because it included two of my favorite things: thrifting and creating! Now I am sharing this Color Dipped DIY Wall Art with you all below!
Materials You’ll Need
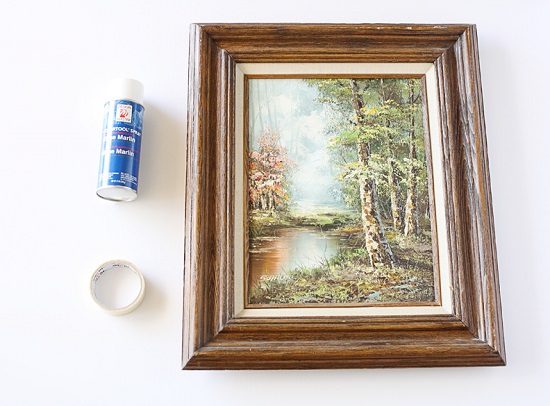
- Art
- Spray Paint (in any color to suit your space)
- Painters tape
- Plastic bags
Follow These Directions:
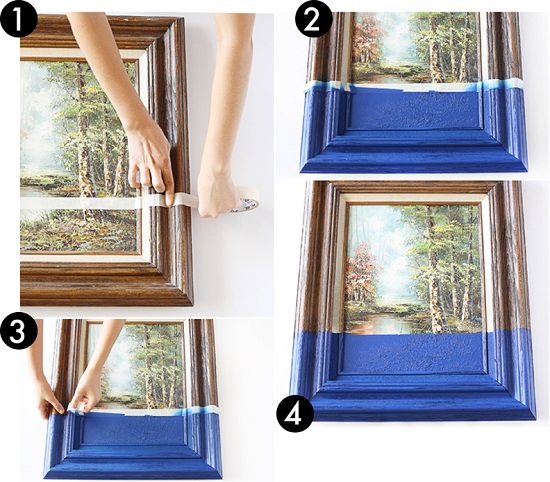
1.
Apply washi tape on the section which you like to beautify. Carefully cover the remaining part of your art with plastic bags to avoid staining.
2.
Now it’s time to give a complete makeover to your art with spray paint. While you’re painting, allow the paint to dry between layers and stop the painting job when you get the preferred hue. Once the painting is done, take off the tape and plastic bags.
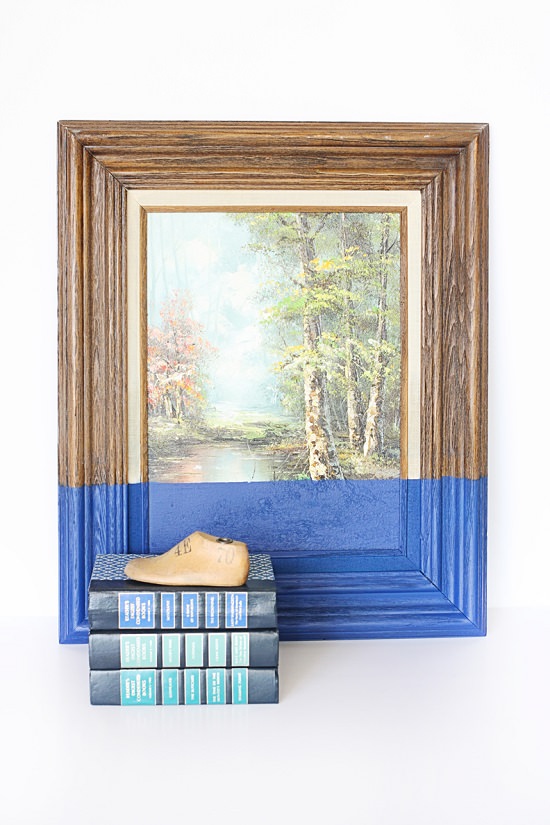
I think this would be a great project to do for a craft night! You could meet at your local thrift store, grab some art (it doesn’t even have to be pretty) and have a lot of fun adding a splash of color to really rejuvenate your piece once more. I would love to do this on a wall at home as a statement piece with either one color palette or just a bunch of vivid colors that really pop. How fun would that be?!
Quick Note- As Color Dipped DIY Wall Art requires a painting job, don’t forget to don a superior quality face mask, goggles, and rubber gloves. When you leave the paint to dry, keep an eye on your kids and pets to avoid mishaps. It’s advised to do this craft outside or at least maintains proper ventilation if you want to complete this project indoors.