As an Amazon Associate, we earn a small commission from qualifying purchases — at no extra cost to you.
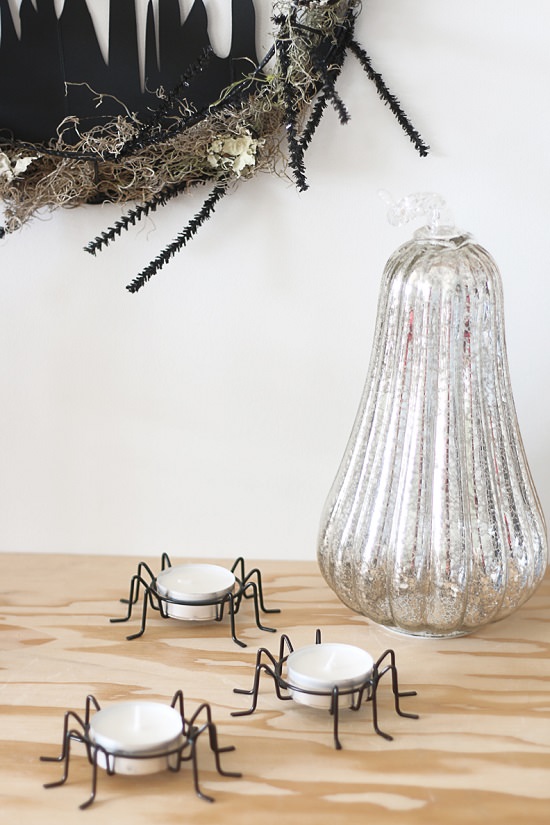
This fun and dramatic DIY Halloween Wreath Diorama is a sure-shot way to surprise your guests!
It’s that time of year. Halloween! It’s not the most popular holiday in our home, I’ll admit. But sometimes it’s fun to be a little festive and create a few bold statement pieces that require less spooky decor and acts as more of a focal point in the home. In this case, it’s a rather fun DIY Halloween Wreath Diorama!
Materials
- Martha Stewart Silhouettes
- Martha Stewart Window and Mirror Clings
- Wire Wreath Frame with Ties (in black)
- Leather
- Moss
- Hot Glue Gun
- Scissors
*Martha Stewart Crafts Halloween products are available in-store at Michaels.
Instructions
1.
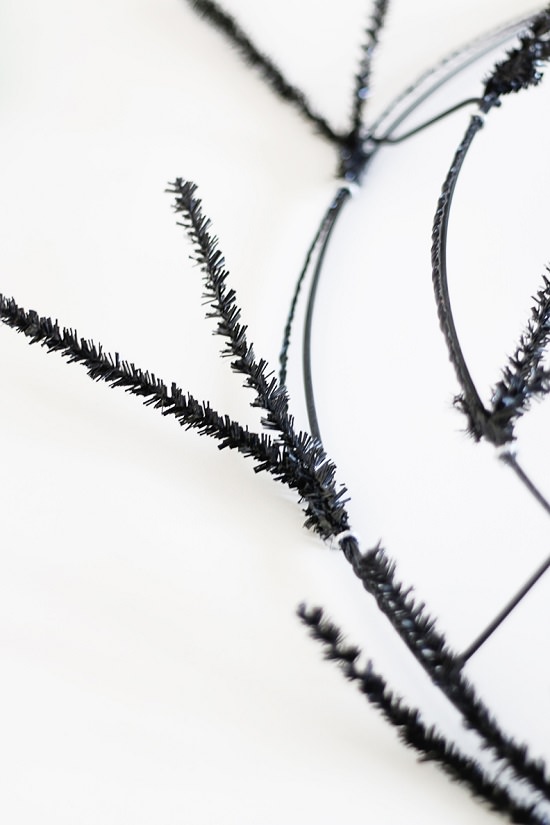
Begin by separating the ties on your wire wreath. You are going to rely on these to bring depth to your design.
2.

Take your cave silhouette and trace the curve of the bottom of your wreath to the paper.
3.
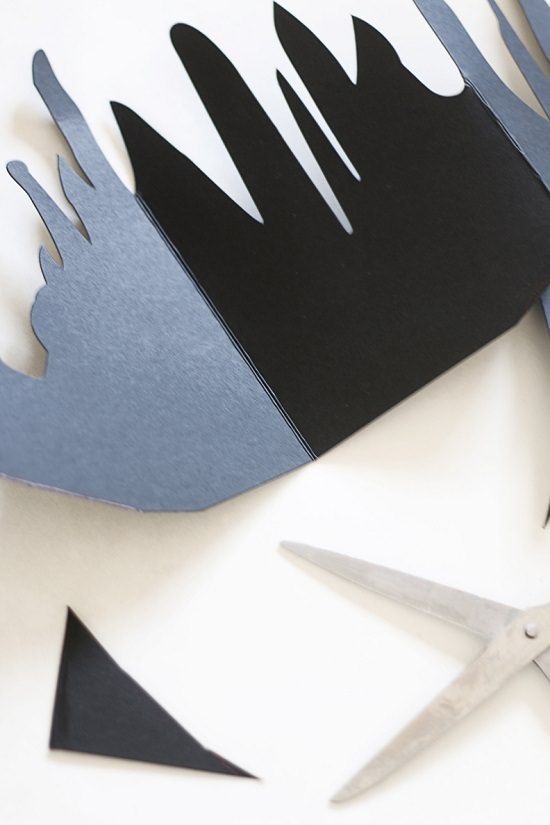
Cut your paper cave accordingly. Simply hot glue the cave to the bottom/back of your wire wreath.
4.
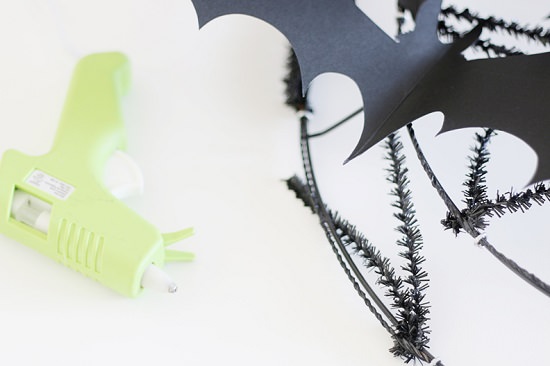
Take your various bats and begin to hot glue them to the ties of the wreath. I chose to use paper silhouettes and clings for the flat and shiny surfaces. It really helps the wreath feel more dimensional. Disperse big and small ones on the front and back ties to help create an almost 3D effect.
5.
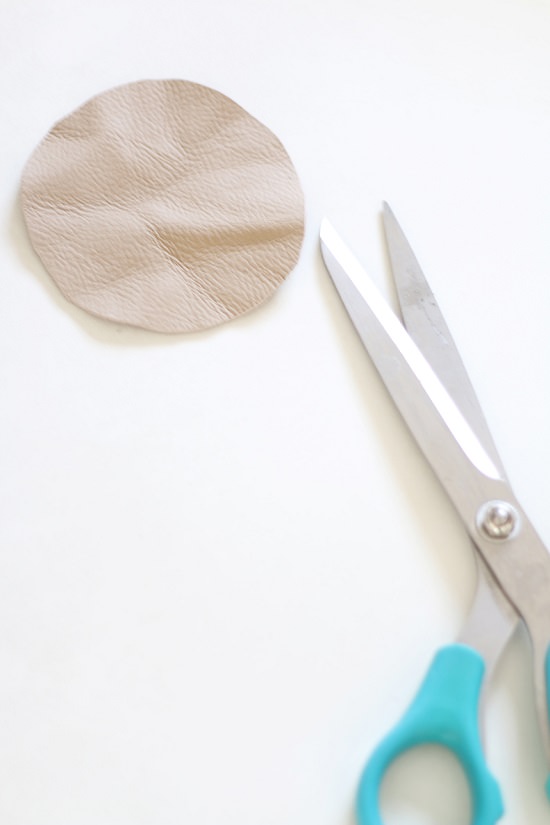
Cut a circle out of your leather to create your moon. The leather is great for that textural element – you can pinch and scratch the leather to help add more character if necessary. Hot glue to a tie that is towards the back of the wreath.
6.
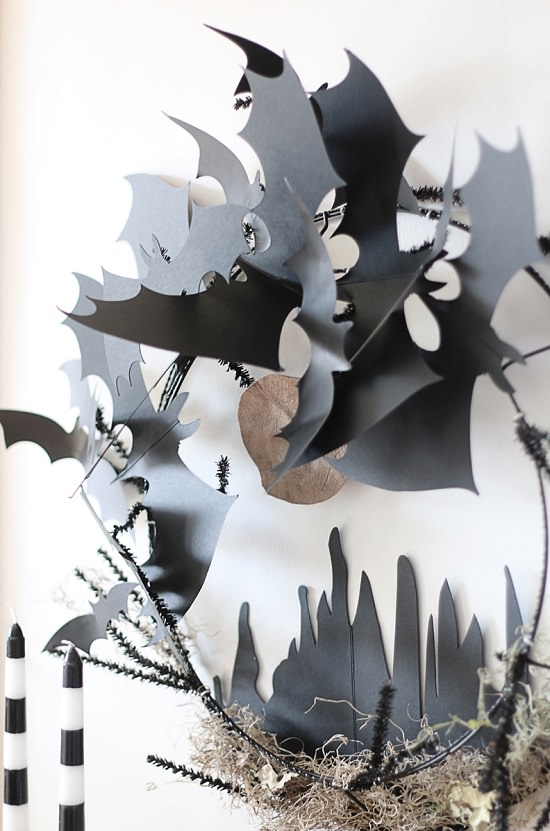
Once all your elements are hot glued to the wreath, you can add moss for more texture and color. Simply drape it at the bottom of the wreath – it will cling nicely to the ties.
7.

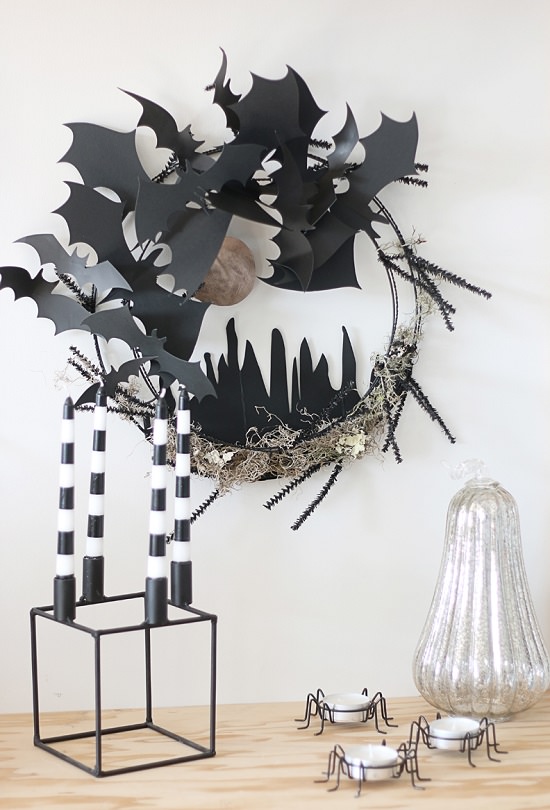
Hang and enjoy!
I am so happy with how this wreath turned out. The colors are basic and neutral, so it doesn’t stand out too much. It also doesn’t look tacky, which some Halloween decor can portray. The 3D effect is very interactive and fun for the whole family! You can easily display this wreath on the door, above a fireplace or even on the wall for an artful effect this season! So, what do you think?