Learn how to revamp IKEA organizer for your own good. They’ll give you a chance of being creative and keeping the precious old one safe.
Revamp your organizer a little with this super simple DIY! You’ll find yourself enjoying the process as it’s quite simple but engaging at the same time. This project is my personal favorite as it upcycles an existing IKEA organizer frugally.
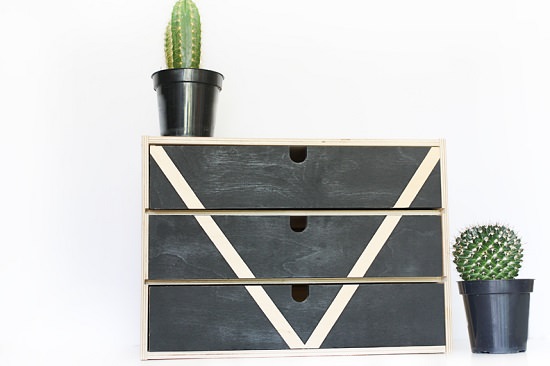
Revamped IKEA Organizer
To showcase your DIYing skills and to make the most out of your old IKEA organizer, follow the below step-by-step tutorial to transform the organizer into a display-worthy yet fully functional piece.
Materials You’ll Need
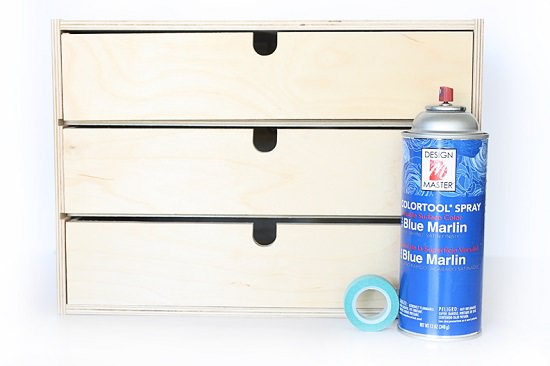
- Old or New Organizer (This one is a few years old from IKEA)
- Tape
- Spray Paint (Any color)
Directions
1.
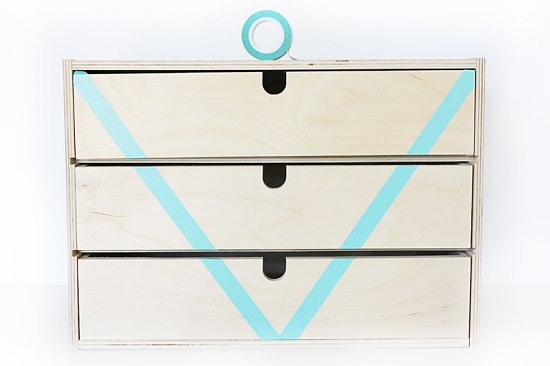
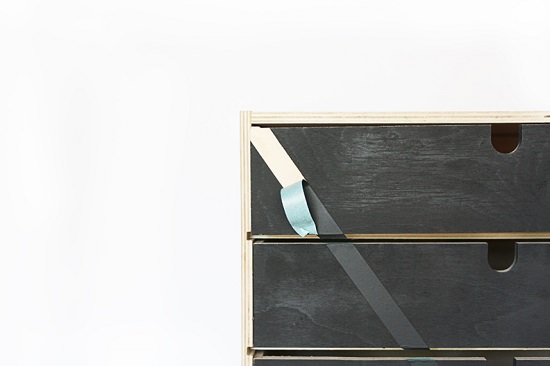
Simply tape your design into a ‘V’ pattern or any design. You can use washi tape or any other tape. Washi tape is recommended because it can be removed easily and did not leave sticky residue behind.
2.
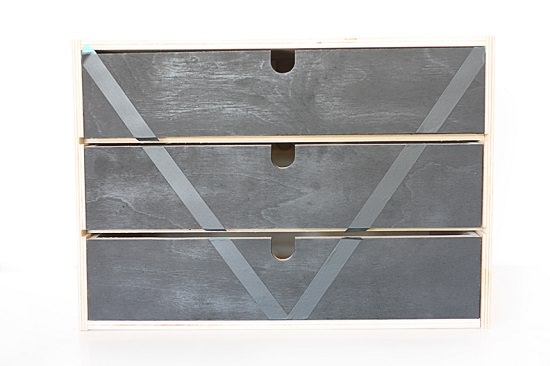
Grab the can of spray paint and paint the front of the drawers or entire organizer – it’s completely up to you! Let the paint dry properly in between coats and paint again until you have the desired color you are looking for.
3.
Once the paint job is done, slowly take off the tape carefully.
4.
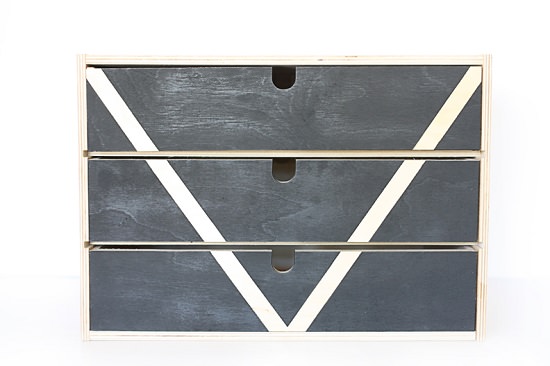
Display your new and improved organizer!
5.
You’ll love the simple transformation. Also, you can still see the wood grain through the black spray paint, isn’t it cool? It gives it some great texture!
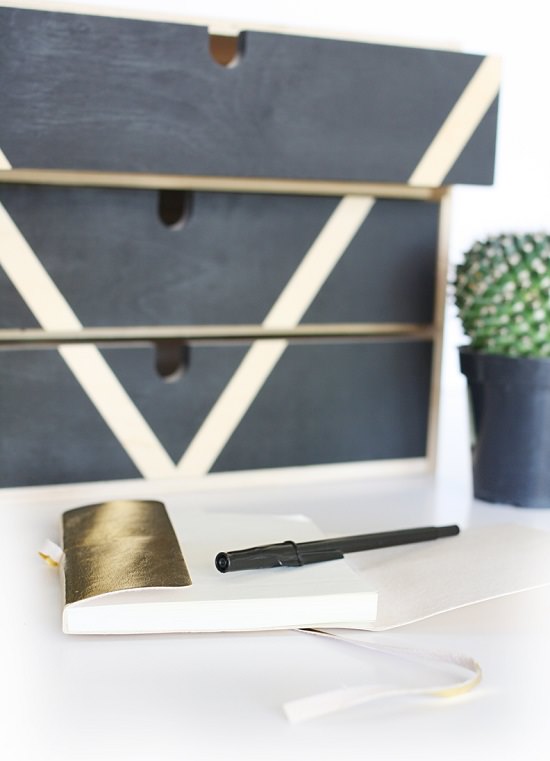
Now you just need to find a place for this little guy in the office space in the new house! We can’t wait to share more fun DIYs and design ideas with you. Stay tuned for more such DIYs!
Quick Note- Before beginning this project, gear yourself up with gloves, goggles, a face mask, and protective clothing.